Here's a simple guide to give you an overview of what you need to do to move a DasBlog web application to us.
- From your current hosting company, you need to ZIP your entire root folder. Make sure all your files are backup.
- Download the backup file to your local computer.
- From your current hosting company, please backup your DasBlog Mssql Database.
- Download the database backup file to your local computer.
- Now, FTP your files to your hosting account root folder.
- Login to your hosting control panel -> Database Manager and create a new mssql database.
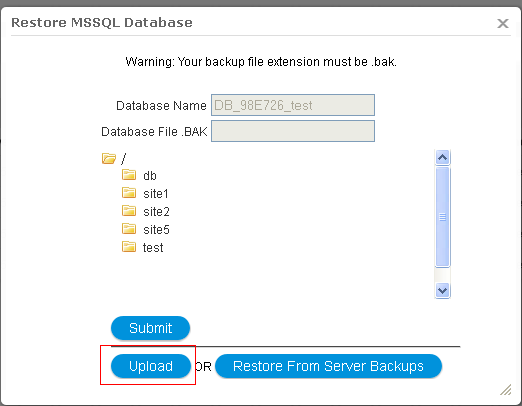
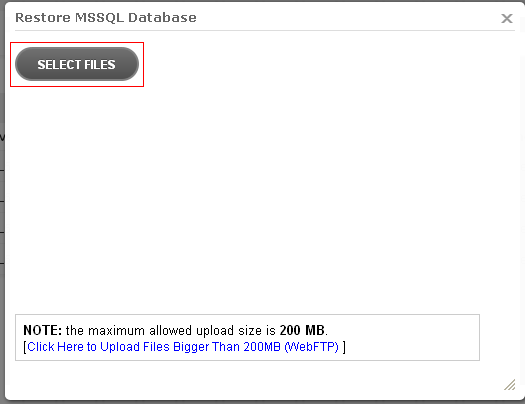
- You can see a "Restore Icon" on the left hand of your database after created. Click on it and choose to restore your database by uploading a backup file.

- Choose the database backup file that's currently in your local computer and click restore.
- Now your database has been restored, you need to find your DasBlog Config file which is SiteConfig\site.config, open it and update database server name, database name, database username and database password to the new database you just created.
- Please set the site type for your DasBlog website, you can login your hosting accountàwebsite domain manageràsite type to choose the corresponding script and mode.

- Now try to browse your site using the TEMP URL that we give you and see. You can find your TEMP URL in your hosting control panel -> Hosting Manager -> Website Domain Manager. A temp URL should be something like http://yourUserID-001-site1.******
You can also consider letting our support staff do the migration for you. We charge a one-time $49.95 migration fee for most of the commonly used web applications out there.
Article ID: 394, Created: April 24, 2013 at 2:16 AM, Modified: January 4, 2017 at 11:47 PM